Using AtScale with Google Data Studio
The AtScale Data Studio Connector enables seamless access to governed, enterprise-scale semantic models managed in AtScale, directly from Google Data Studio. With this connector, business users and analysts can build dashboards and visualizations on top of trusted data definitions, ensuring consistency and accuracy across every report.

What the connector does
The connector integrates AtScale's semantic layer with Data Studio's visualization and reporting interface, allowing users to:
- Connect to AtScale data models hosted on-premises or in the cloud.
- Query live, aggregated data through AtScale's intelligent query acceleration engine.
- Visualize governed metrics, hierarchies, and dimensions in Data Studio with no manual modeling.
- Empower self-service analytics while maintaining enterprise-level governance and performance.
How the connector works
- The connector authenticates securely using OAuth 2.0.
- Users provide the URL of their AtScale instance (on-premises or cloud).
- Once connected, Data Studio fetches metadata (models, measures, and dimensions) from AtScale.
- Users can drag and drop metrics into Data Studio to build live, interactive dashboards.
Configure the Identity Broker
For the connector to authenticate with your AtScale server, you must first configure the OAuth2 callback URL in the Identity Broker:
-
Log in to Design Center as an admin user.
-
In the sidebar, click Security. The Identity Broker opens.
-
In the sidebar, click Clients.
-
Click Create client. The Create client page opens.
-
In the General settings step, complete the following fields, then click Next.
- Client type: Select OpenID Connect.
- Client ID: Enter
looker-studio-connector. - Name: Enter
looker-studio-connector.
-
In the Capability config step, complete the following fields, then click Next.
- Client authentication: Set to On.
- Authentication flow: Select Standard flow.
-
In the Login settings step, complete the following fields, then click Save.
- Valid redirect URIs: Enter
https://script.google.com/macros/d/*. - Valid post logout redirect URIs: Enter
https://script.google.com/macros/d/*. - Web origins: Enter
https://script.google.com/.
- Valid redirect URIs: Enter
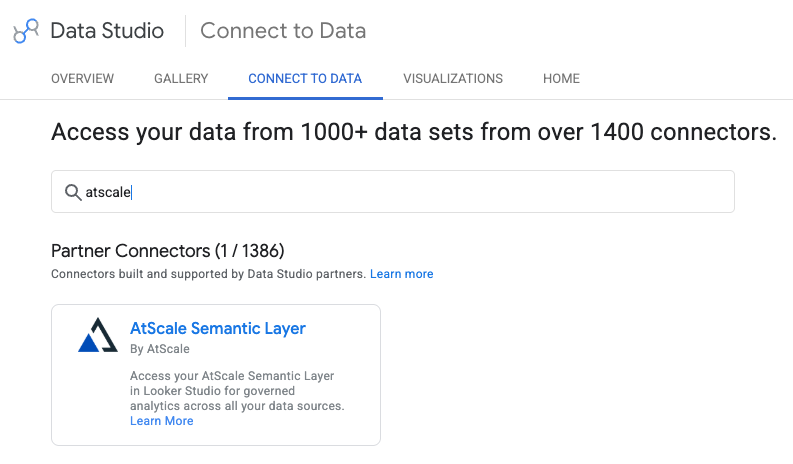
Install the AtScale Connector
Next, you need to install the connector. You can do this via the Data Studio Connector Gallery:
Add a data source for the AtScale Connector
Next, you need to add a data source for the AtScale Connector in Data Studio:
- Open Data Studio.
- Click Create > Data Source > AtScale Connector.
- Enter your AtScale instance URL and credentials.
- Select your model and start building reports.
The AtScale Connector supports the use of Viewer's Credentials with AtScale-based data sources. When set, Data Studio forces the report to use the active viewer's personal Google account to fetch data. For more information, refer to the Google Data Studio documentation.
For more details or support, visit atscale.com.
Privacy policy and terms of use
Your use of the AtScale Data Studio Connector is governed by AtScale's standard policies. Review the following documents for details on data handling, user responsibilities, and acceptable use: